


#15 - "Last" Step: Waterproofing
- Gavin Koo
- 3 days ago
- 3 min read

Unfortunately, school has started and therefore progress has slowed a bit, however we’re in the home stretch. This week, I finally did the epoxy waterproofing for all the endcaps.
Although straightforward, waterproofing did take a decent amount of time. I had to first plan out the placement of all the wires connecting the ESCs and motors, as well as camera and ethernet cables. Because the wires start at the front of the tube, I started by cutting 6 short wires for the 2 front motors, and 12 more long wires for the 3 motors in the back of the drone. 2 sets of wires would come out of the right side, while 3 on the left, due to the motor wires for the very back motor being fed through the left side. This would leave the most available space for the two cables on the right side.
After that, I realized that with the current design of the wire endcap, there wouldn’t be nearly enough space for the two cables to actually fit through. So I redesigned the endcap into two separate pieces: the main piece with an opening on one of the wire channels for the two cables to fit through and a cap piece to keep the wires in place. The two pieces would be held together by the epoxy, so I would have to make sure to be incredibly careful when pouring.


Finally, in order to better ensure waterproofing and strong connections between the thick cables and the epoxy, I actually stripped some of the sheathing off of both cables on the areas where epoxy would fill around. By doing this, epoxy would be able to seep into the wire a bit, rooting the wire well into the epoxy, and also preventing water from travelling through the insides of wires or through the very edges of where the cable and epoxy meet.
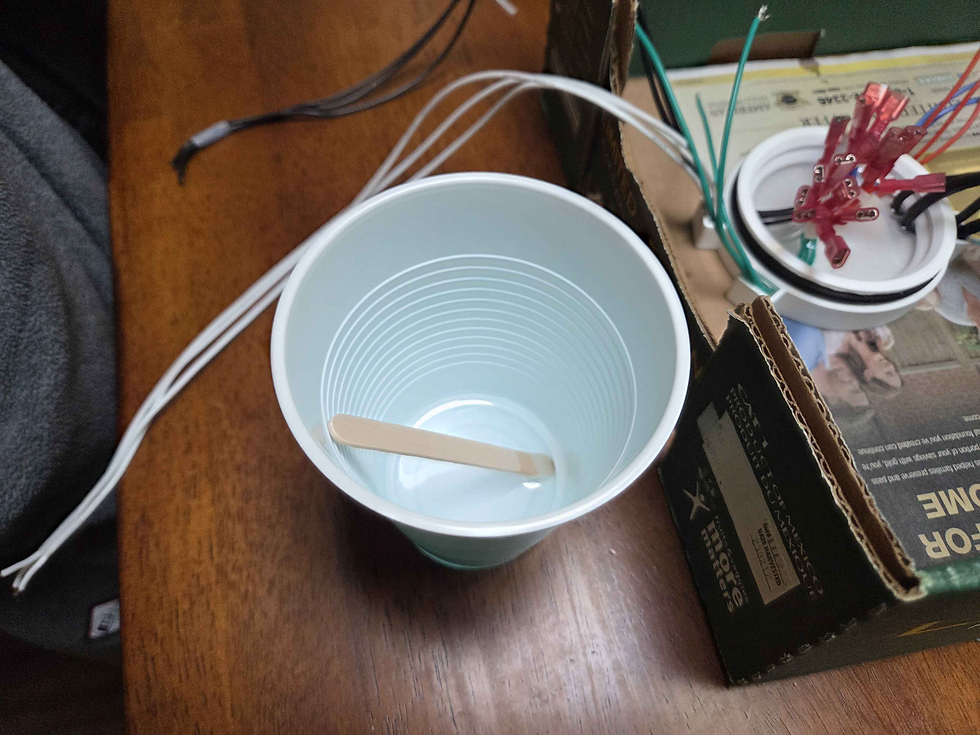
So after printing out the new end caps, purchasing some epoxy, and preparing all the wires, there was nothing more to do but pour the epoxy. I started with the easier pieces, including the camera caps and back cap of the big tube. I poured the epoxy resin and hardener in a 1 to 1 ratio in a disposable plastic cup, made sure to stir slowly in one direction in order to not create bubbles, and set up a clean workspace with a cardboard box. The non-wire caps were easy, I simply poured epoxy into them like a dish and set them to the side; but as for the wires, I had to make sure that the wires were in the perfect position that I wanted them to be in when the epoxy cured. For the smaller camera cap, I just balanced the camera cable in a position I liked and let it cure; and for the large cap, I used a rubber band to keep all of the motor wires in a single bunch in the center of the cap, and zip tied the two cables to keep them in the right position.


Furthermore, for the large cap, I also did two rounds of epoxy. First, I filled the cap to the limit of the outer channel holes, as pouring more would cause the epoxy to start leaking out of these holes. This brought the level of the epoxy to around half way, just barely touching and keeping in place the top piece of the cap. Then, after this initial layer cured, I mixed another batch of epoxy to pour into the cap. This would make sure that the top piece would stay firmly in place, due to the drafted inner wall. This 2-step process also allowed me to take the rubber bands and zip ties off of the wires and position them more optimally, without having to worry about the wires going anywhere. Mainly, I made sure each wire was as perpendicular to the surface of the epoxy as possible, to minimize weak points in the epoxy surface.
In the next post, I’ll go over putting the finished electronics all together, making the final connections with the marine-grade crimp heatshrink things I found, and putting the drone all together to be theoretically done. (Not done)


Comments