


#7 - Adding more details
- Gavin Koo
- Jul 8
- 2 min read

Today, I gave the drone CAD some more finishing touches. I focused on making sure that everything would be able to be mounted together with purchasable fasteners, had the correct tolerances for 3D printing, and and were strong.
Firstly, I made sure to implement a consistent fastening system for attaching all the drone parts together. I decided to use M3 screws and square nuts for all mounting outside of electronics, which typically took M2.5 fasteners. For the two front panels, which I’ve termed the “top” and “bottom” panels, I employed a strategy of inserting the square nuts into specifically made notches inside the drone body, which would allow me to create strong connections while also maintaining a streamlined outer surface.

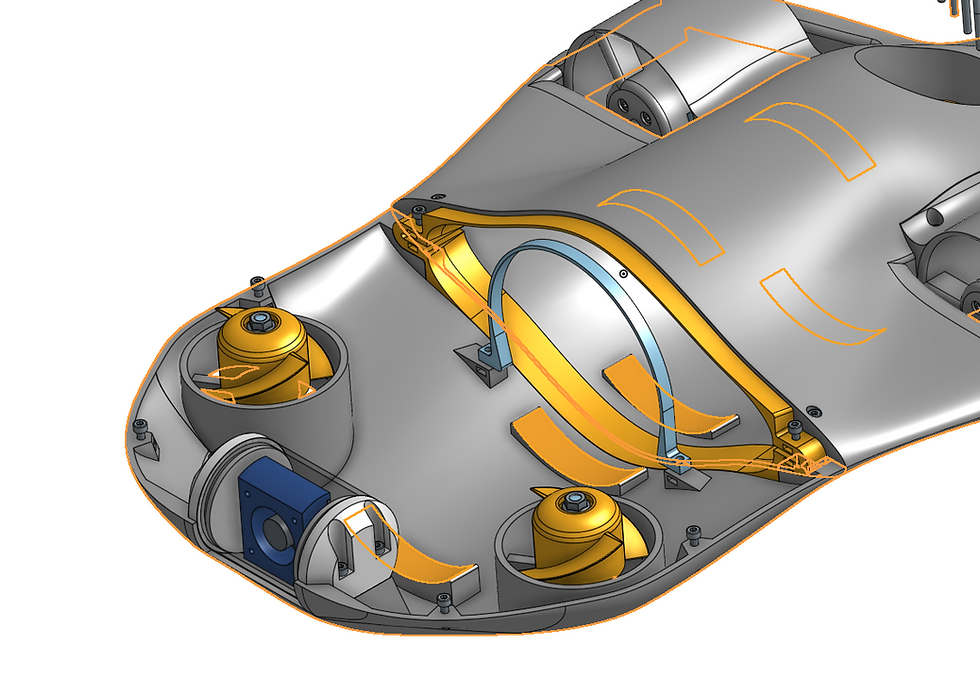
For the connection between the front plates and back section, I had to design an intermediate part that would mitigate the effects of shear (forces that would bend the drone in half long-ways) between the front and back halves. I addressed this by creating a piece that would connect to both the front half and back half with 4 screws each, making it very secure, and that would line the rims of each half very closely to keep the structure very rigid. To create it, I offset portions of the existing faces of the front and back halves, made it thicker, and designed it into a ring-like structure. This is how it came out.

Furthermore, on the topic of tolerance, it’s important to note a couple of the standards I’m following for this project. For the M3 clearance holes, or the holes where M3 screws should be able to pass through freely, I’ve dimensioned a diameter of 3.2mm. Furthermore, in any place where one 3D printed piece contacts another, I’m also making sure to create a tiny gap of 0.2mm, to account for 3D printing inconsistencies.

I also added various supports for the electronics tube on the inside of the 3 main pieces, including the pedestal-looking things and a 3D printed ring that could be secured onto the bottom panel.
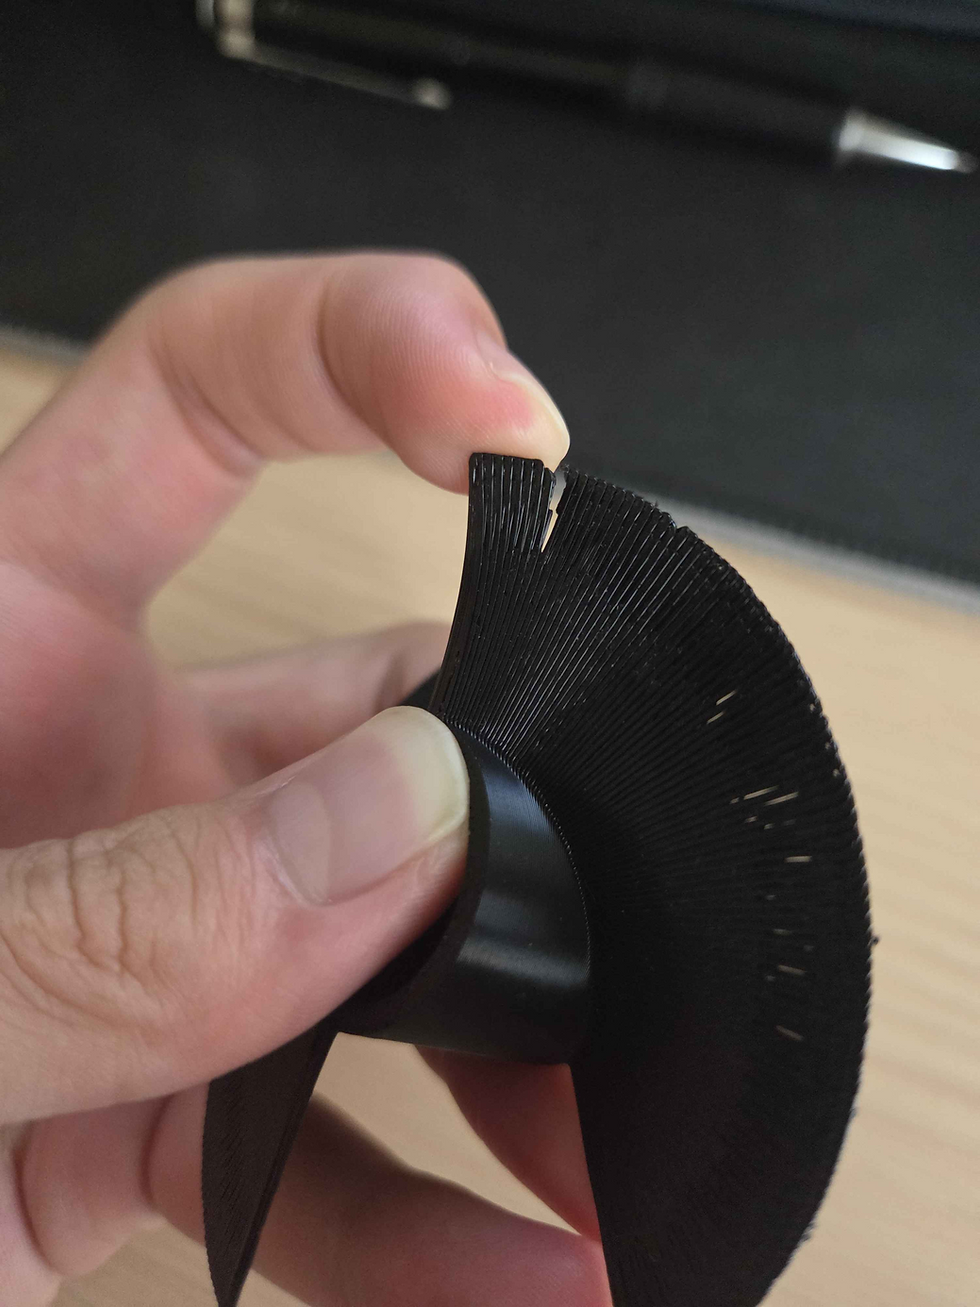
Finally, I also prototyped a couple thruster designs, as you may have seen in earlier pictures. The first iteration, which I had actually designed months ago but had never re-examined, was quite flimsy and had poor layer adhesion due to how thin its blades were. I improved the design by opting for a 3-blade design that was also much thicker, which reduced the angle of the overhang the blades would print at, making the layers less pronounced and overall stiffened the propeller.


Comments